0%

[React] Mobx-state-tree 학습하기 #8 : Create an Entry Form to Add Models to the State Tree

이전글 "[React] Mobx-state-tree 학습하기 #7 : Remove Model Instances from the Tree"에서 이어지는 내용입니다. 참고로 이 포스팅은 제가 학습한 내용을 노트에 정리하듯이 기록하여 올리는 글이기 때문에 보팅 안해주셔서 됩니다. 많은 분들이 코딩에 흥미를 느꼈으면 좋겠습니다. ㅋ


Create an Entry Form to Add Models to the State Tree


우리는 다음을 배우게 됩니다.

  • MST는 단일 상태 트리(single state tree)로 제한되지 않습니다. 모든 모델은 자체적인 트리를 가질 수 있습니다
  • 상태 트리(state tree)에 모델 인스턴스 추가하기


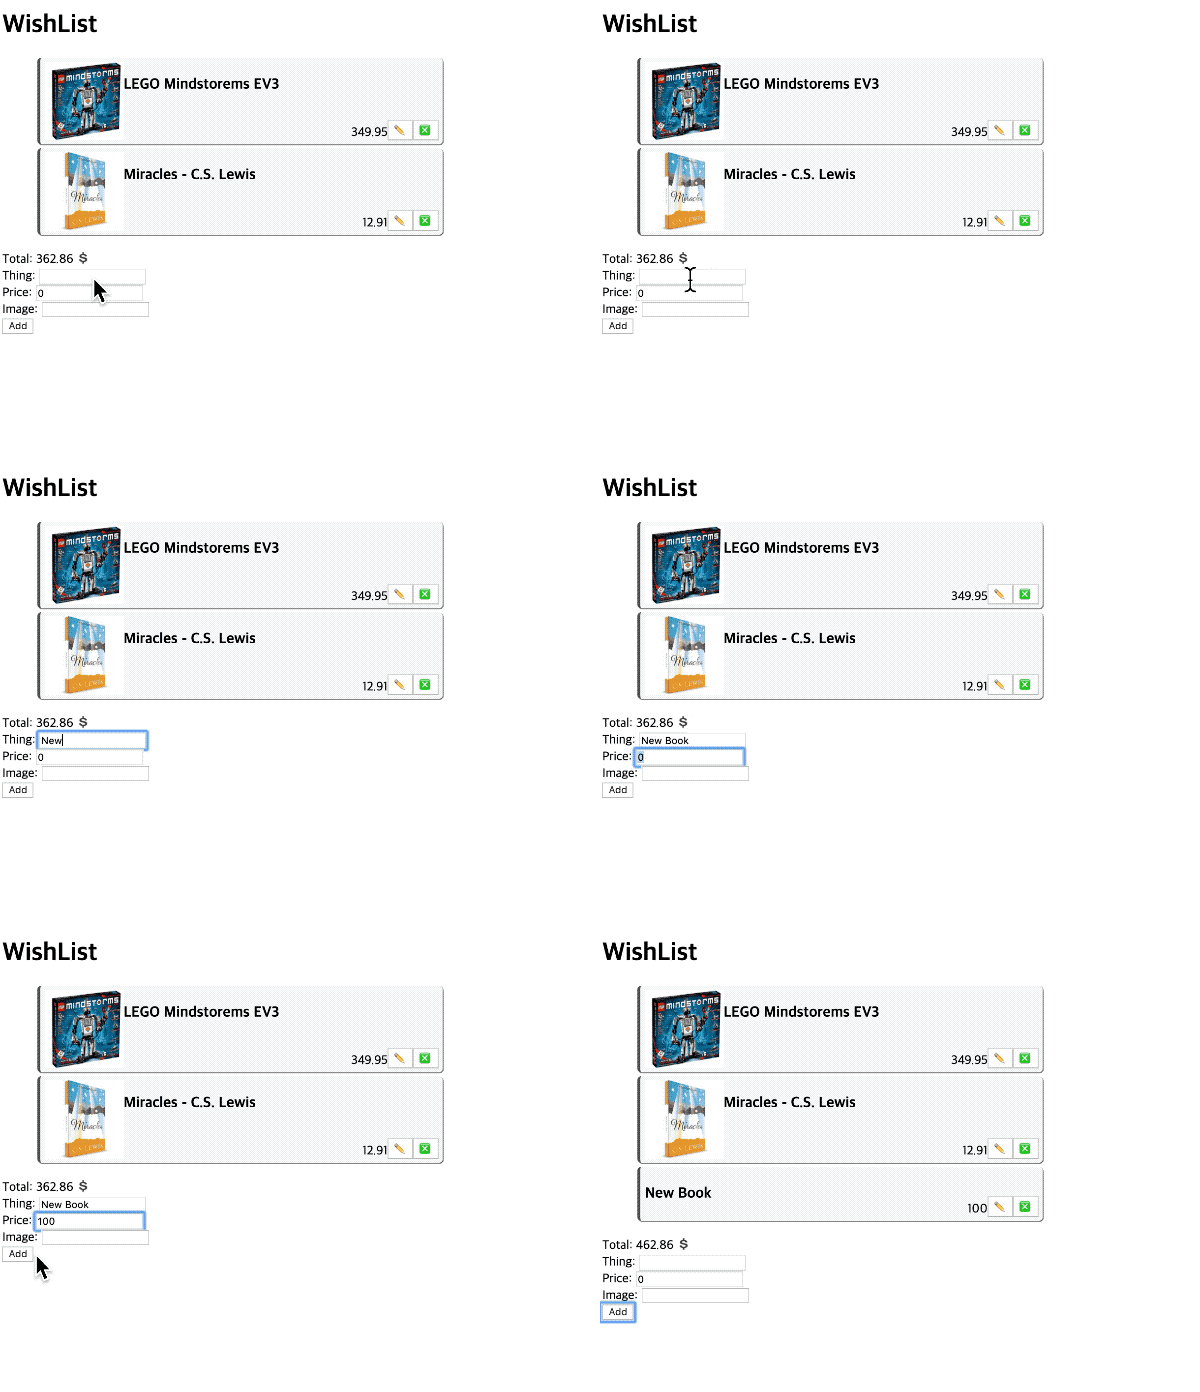
새 파일 WishListItemEntry.js을 생성합니다. 여기서 WishListItemEdit 컴포넌트를 재활용합니다. 그리고 Add 버튼을 만들었습니다. 입력양식을 작성하고 Add 버튼을 누르면 WishList 모델에 새 항목을 추가하게 됩니다.

src/components/WishListItemEntry.js

1
2
3
4
5
6
7
8
9
10
11
12
13
14
15
16
17
18
19
20
21
22
23
24
25
26
27
28
29
30
31
32
33
34
35
36
37
38
39
40
import React, { Component } from "react";
import { observer } from "mobx-react";

import WishListItemEdit from "./WishListItemEdit";

import { WishListItem, WishList } from "../models/WhishList";

class WishListItemEntry extends Component
constructor() {
super();
this.state = {
entry: WishListItem.create({
name: "",
price: 0
})
};


render() {
return (
<div>
<WishListItemEdit item={this.state.entry} />
<button onClick={this.onAdd}>Add</button>
</div>
);


onAdd = () =>
this.props.wishList.add(this.state.entry);
this.setState({
entry: WishListItem.create({
name: "",
price: 0
})
});
};


export default WishListItemEntry;


그다음 WishListView.js 파일을 수정합니다. WishListView 컴포넌트에는 방금 만든 WishListItemEntry 컴포넌트를 추가하여 화면에 보여줍니다.

src/components/WishListView.js

1
2
3
4
5
6
7
8
9
10
11
12
13
14
15
16
17
18
import React from "react";
import { observer } from "mobx-react";
import WishListItemView from "./WishListItemView";
import WishListItemEntry from './WishListItemEntry'; // add here

const WishListView = ({ wishList }) => (
<div className="list">
<ul>
{wishList.items.map((item, idx) => (
<WishListItemView key={idx} item={item} />
))}
</ul>
Total: {wishList.totalPrice} 💲
<WishListItemEntry wishList={wishList} />
</div>
);

export default observer(WishListView);


실행화면

이제 새로운 항목을 작성하고 Add 버튼을 눌러보세요.